The Shop Build
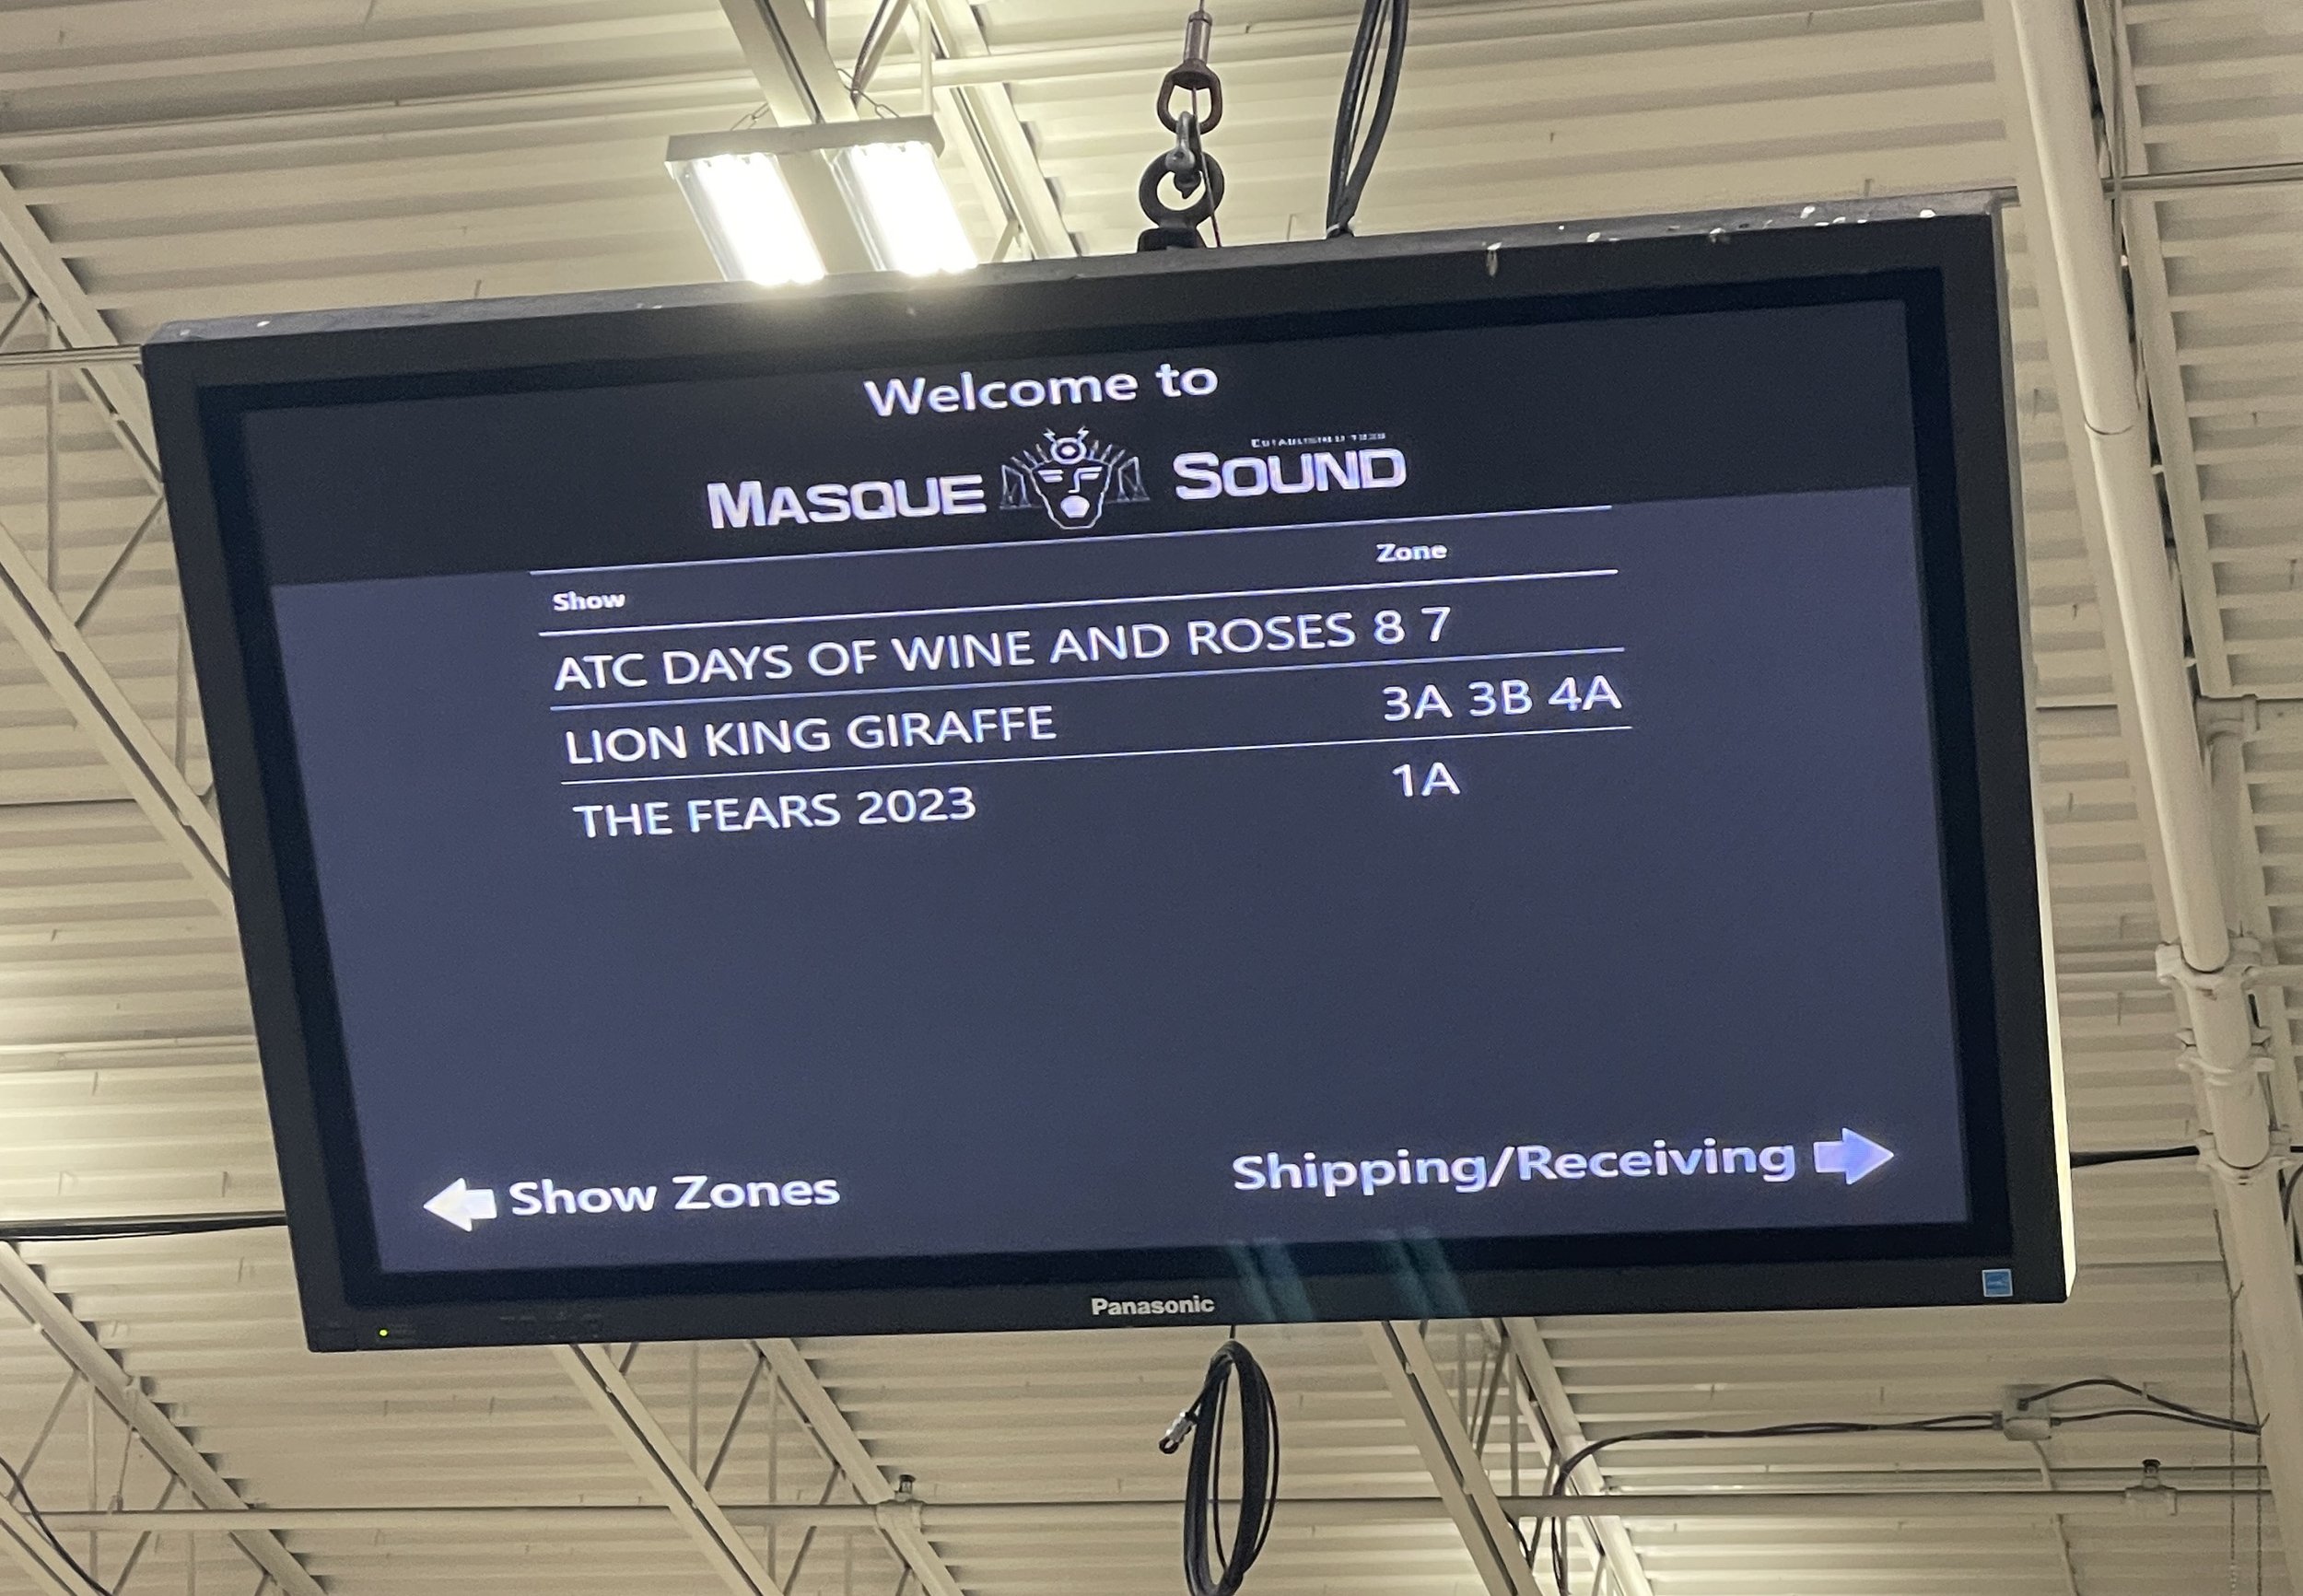
The welcome board at Masque Sound displaying each show and their build zone. Taken during shop prep for Days of Wine and Roses at the Atlantic Theater Company.
One of the central parts of any New York or large regional show is the "Shop Prep," an essential step in the production when the sound system comes together.
The name "Shop Build" refers to the various rental shops from which shows rent their equipment for the duration of their Broadway stint, tour, or out-of-town experience. In essence, the shop build is when the sound team works with the rental shop to acquire, assemble, test, and ship all of the equipment used in the production. The build can take a few days for a small workshop to multiple weeks for a Broadway musical or national tour. The process follows the same steps regardless of the show or the shop.
Equipment Bid and Preparation
Three leading sound rental shops in the New York area provide equipment for Broadway and large regional productions. Sound Associates, Production Rental Group (PRG), And Masque Sound and Recording (the last two are technically in New Jersey). The process starts with an initial bid where each shop quotes a cost for the desired rental equipment chosen by the designer. This may include substitutions for equipment that may not be available. How a production chooses which shop to work with is beyond this post, but once a shop is selected, the sound team will move on to paperwork and preparation.
Preparation includes making any necessary substitutions for equipment, submitting lists for cable, and coordinating any additional needs that come up as the production moves forward. All of this is done with an assigned project manager from the shop who will oversee your rental for the duration of your build and beyond. Once the length and dates of the build are booked with the shop, the sound team, typically the production audio, will coordinate the labor that will help assemble the show with the production staff and design team at the shop.
Getting To Know The Shop
There is much to know about how a shop functions and what to expect from your first few days. The first and most important things to know are your "Zone" and "Captain."
Your zone is the area of the shop that you will prep in. This is where your equipment will be delivered, and all the work will happen. Shops will divide their zones between as many shows as they have prepping at a given time. The shop captain (sometimes called "key") is the shop staff assigned to your production and zone. They help retrieve equipment, manage inventory, and ensure you have everything. They are your direct line of communication for any questions or requests. Sometimes a captain may be assigned to more than one zone. Your show captain is vital to the success of your build, so make sure to treat them well and respect their time. It's best to make requests with detailed lists and quantities before you send them running back and forth for every bit of gear you may be missing.
The different quirks and staff departments around the shop are also worth knowing. Each shop does things slightly differently, has a different inventory, and even other cable types. The differences are many so ask questions and rely on your captains and production team to help you. As for staff, each shop divides its equipment or services into different departments; these departments may comprise one person or a group of people who specialize in something. Typically you will find computers, manufacturing, radio frequency (RF), console departments, and many others specific to each shop. Try to get to know each department's members; they are often great resources in solving problems on your build.
The Build
Your first time working in a shop build can be intimidating for newcomers. The prep process may be rushed and rag-tag or slow and methodical, but in either case, the process centers around some fundamental pillars of how a show is put together.
Bundles and Tails
Before shop prep, the associate designer and production audio will have sketched the sound system and prepared the paperwork for all the cables interconnecting the show. The first task is bundling that cable.
Bundles

A Sound Design Tech table containing 6 cables. flagged ends are marked with green gaff tape
A bundle -- sometimes called a "loom" in other parts of the country-- is a group of cables attached with friction tape to mimic a single cable. This makes for easier runs and better organization during load-in. When making a bundle, you'll typically be given a "bundle sheet" listing the bundle's contents and corresponding cable labels. The bundle sheet lists each cable's source, destination, and "flagged" end. One end of each cable is wrapped with colored gaff tape according to the sheet. This "flag" tells the person bundling the cable which end of each cable is grouped together in the bundle -- all flags on one side. When gathered, it can be bundled and checked off the list. Some shops will bundle your cable using shop staff, but you may have to bundle your own others.

A 9-Pair Male XLR Mult tail
Mult and Tails
Connecting all the equipment for a show takes a lot of cable and many bundles. The core audio cable we use is the multi-cable. A multi-cable or "Mult" carries multiple audio signals in a tight and compact package. In New York, you will usually find Wireworks G-Block multi-cable in various combinations from 3-Pair (3 lines) up to 19-Pair (19 lines). Each end of the mult is a set of "tails" These are the individual connections (usually XLR) in each multi-cable. Tails can vary from "fan" style single XLR cables to multi-port stage boxes or rack-mountable panels. Each shop varies in the type and style of mult they carry, but they all accomplish the same goal. In any case, shows contain hundreds of tail sets that must be labeled and accounted for during the shop prep.
Racks
With cable dealt with, it's time to tackle equipment racks. Each piece of gear on a show is installed into racks throughout the theatre, from front of house to backstage, booths, grids, and more. When you first build a rack, it's helpful to understand their unique measurements and styles.

The install racks for Griswolds Broadway Vacation. Taken at the 5th Avenue Theatre, Seattle
Equipment racks come in a few different styles that are useful for different scenarios. The first and most used is the "Rack Insert" These racks are typically smaller and built from plywood with a set of rails on the front and back. They come with matching "surrounds" -- road cases -- for transport. You usually find "Install" or "MRK" racks for heavier-duty or more complicated builds. These racks are built from steel and come in larger sizes, are deeper than inserts, and have front, back, and middle mounting rails that can be adjusted. You may also see the occasional "double wide" install rack.
The many different styles and sizes of audio racks may be intimidating to sort through initially. Still, they are all based on the simple industry standard "rack units" (abbreviated to RU or just U). One RU equals 1.75 inches, and all rack equipment is built in multiples of this measurement. So a 3RU rack drawer is a drawer that takes up 3 rack unit spaces. Similarly, a 16U rack insert has 16 rack units worth of space.
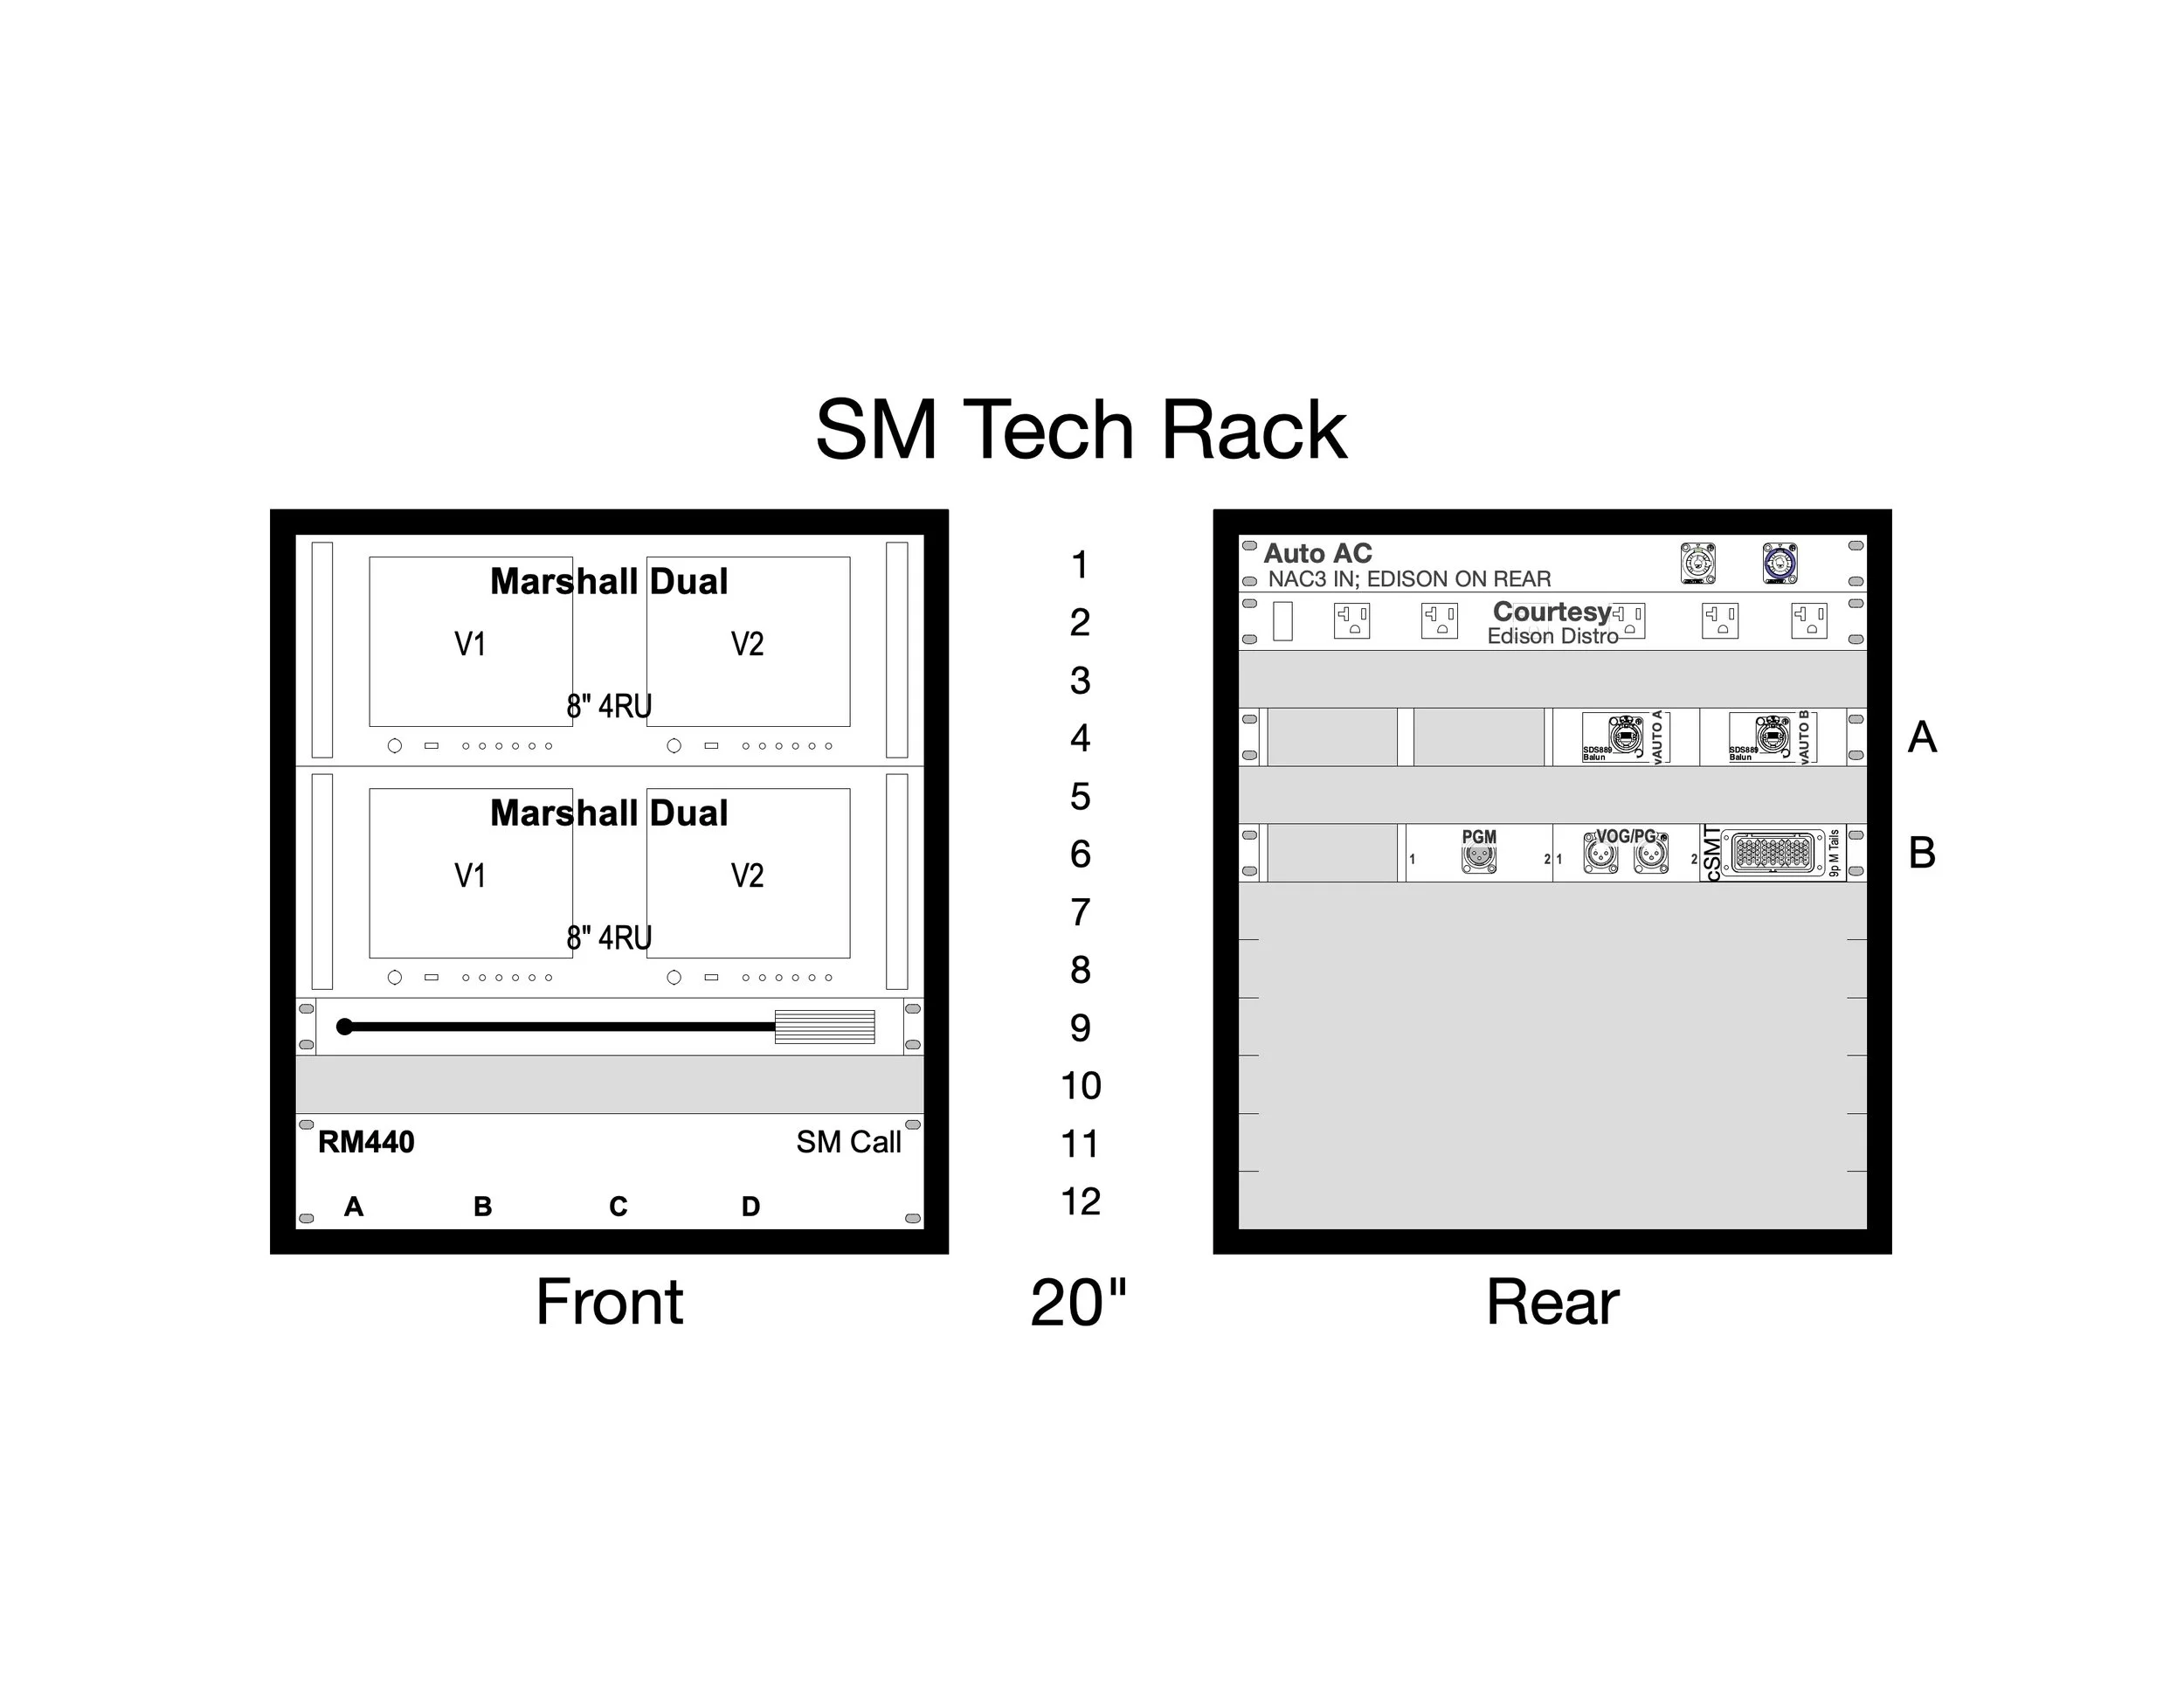
A drawing of an SM Tech Rack with Com and video. Stek Plates are detailed A and B
Rack Drawings
Building your first rack starts with the rack drawing. This drawing shows the layout of the rack as designed by the associate and the production audio. The paperwork shows the type and position of each piece of gear and may (or may not) come with a signal flow diagram of how it all gets connected. There may be some flexibility in the layout of the rack, but it's best to check with your team if you can make adjustments.
Stek Plates
When we connect a cable to a piece of equipment in a rack, it can be a hassle to get into the rack and plug a bundle into something like an amp or processor. To make things easier, connections coming into the rack typically go through "steks." A stek is a blank 1U panel that can be customized with plates of different connectors and pass-throughs, including mult tails. These are outlined in the rack drawings and connection accordingly. The stek panels are convenient patch points for bundles and cables when the system is installed.
Testing
Once cables and tails are done and racks have been built, it's time to assemble them for testing. While conditions in a shop are different than in the theatre, testing with a setup as close to show conditions as you can manage is vital. All the racks are placed together in groups as they would be in the space, front of house is set up with the console, and bundles are run out to their corresponding locations. Once wired up, every input, speaker, com, and video line should be tested and checked with their proper cabling. Doing this ahead of time in the shop help to catch anything that may have been missed while you still have time and space to fix things, as well as find any gear that might need to be fixed.
Pack and Push
The final step of the shop build is getting it all out the door. Racks inserts are put into their surrounds, Installed racks are covered and wheeled away, and every cable, speaker, and loose piece of equipment is packed into road cases. Every case and rack is labeled (sometimes gaff tape and Sharpie, sometimes fancy labels) with a number, its contents, and where in the theatre it should go during load-in. The production sound person often decides what goes in each box beforehand, and a detailed list is kept.
Once in boxes, you will either push them directly onto the trucks or stage them for the shop employees to end up in trucks later. The truck layout will be specifically laid out for tours or larger shows so that each case arrives in the proper order and is unloaded efficiently and safely. Smaller shows that can usually fit on a truck or two may be laxer about how you stage your cases.
When it's all said and done, your show zone should be empty, and boxes should be on their way to the theatre.
Wrap up
Congrats! You've just finished your first shop build. This process is core to the success of any show and very often the majority of work you will find in the city. It may be intimidating at first, but the process will be second nature after a few times.
If you have more questions about shop prep or want to hear more about rack building or other topics, comment below or email me at OwenMeadowsDesign@gmail.com.
Happy building!
Owen